Succulent Leaf Propagation
Understanding the Basics of Leaf Propagation
Selecting the Right Leaves
1.Healthy Leaves: Choose leaves that are plump, firm, and free from any signs of damage, disease, or pests. A healthy leaf is more likely to have the energy and resources to develop into a new plant. For example, in Echeveria, look for leaves that are thick and have a vibrant color. Avoid leaves that are yellowing, shriveled, or have brown spots.
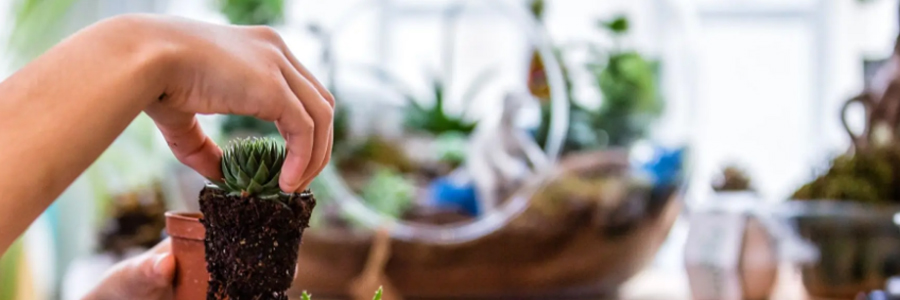
2.Detaching the Leaves: Gently remove the leaf from the mother plant. The best way is to hold the base of the leaf between your thumb and forefinger and carefully twist or pull it off in a smooth motion. Make sure you get the entire leaf, including the part that attaches to the stem. If the leaf breaks during the detachment process, it may not be suitable for propagation.
Preparing the Propagation Medium
1.Well – Drained Soil: Succulents require well – drained soil for leaf propagation. A commercial cactus and succulent mix is a great option. These mixes typically contain a blend of sand, perlite, and a small amount of organic matter like peat moss. The sand and perlite help with drainage, while the organic matter provides some nutrients. If you prefer to make your own soil, a good ratio is about 50 – 70% inorganic materials (such as sand and perlite) and 30 – 50% organic matter.
2.Containers: You can use small pots, seed trays, or even shallow dishes for leaf propagation. Make sure the container has drainage holes at the bottom to prevent waterlogging. If using a container without holes, you can place a layer of small stones or gravel at the bottom to improve drainage.
The Propagation Process
1.Letting the Leaves Callus: After detaching the leaves, place them in a dry, shaded area for a few days. This allows the cut end of the leaf to form a callus. The callus acts as a protective layer, preventing rot and helping the leaf to start the root – forming process. In most cases, the callusing process takes about 2 – 3 days, but it can vary depending on the humidity and temperature of your environment.
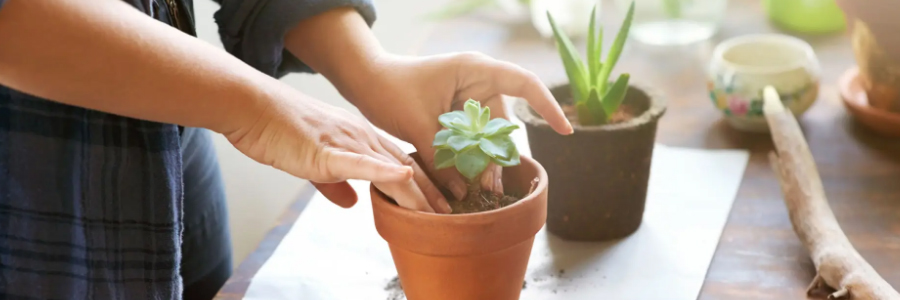
2.Planting the Leaves: Once the leaves have callused, place them on top of the well – drained soil. You can either lay the leaves flat on the soil surface or insert the callused end slightly into the soil. However, be careful not to bury the leaf too deep, as this can cause it to rot. If laying the leaf flat, make sure the base of the leaf is in contact with the soil.
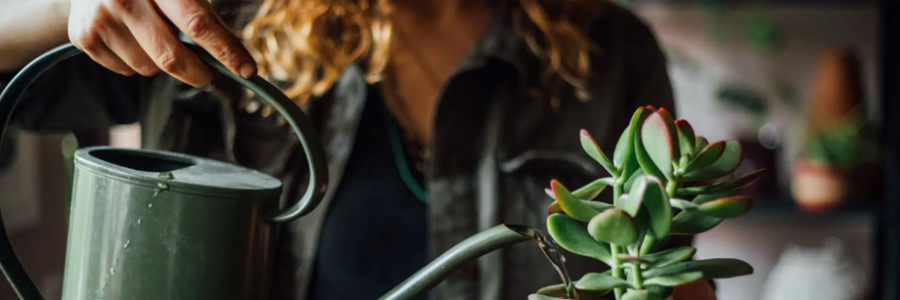
3.Providing the Right Conditions: Place the container in a bright, but indirect light area. Succulent leaf cuttings need light to initiate growth, but direct sunlight can be too intense and may damage the delicate new growth. Keep the soil slightly moist, but not wet. You can mist the soil gently with a spray bottle every few days. Over – watering is one of the main reasons for failure in leaf propagation, as it can cause the leaves to rot.
1.Root Development: After a few weeks, you should start to see roots emerging from the base of the leaf. This is a sign that the propagation process is working. Once the roots are about 1 – 2 centimeters long, you can gently cover them with a thin layer of soil. This will help to anchor the new plant and provide it with some stability.
2.New Rosette Formation: Shortly after root development, a small rosette of leaves will start to form at the base of the leaf. This is the beginning of a new succulent plant. As the rosette grows, you can gradually increase the amount of light it receives, but still avoid direct sunlight for extended periods.
3.Transplanting: When the new plant has developed a few sets of leaves and a more established root system, usually after 2 – 3 months, it is ready to be transplanted into a larger pot. Gently lift the new plant from the propagation container, being careful not to damage the roots, and plant it in a well – drained soil mix in a new pot.