The Seeding Process of Lithops Succulent Plants
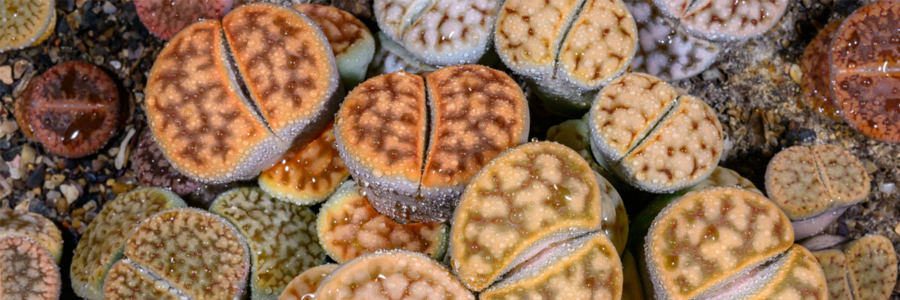
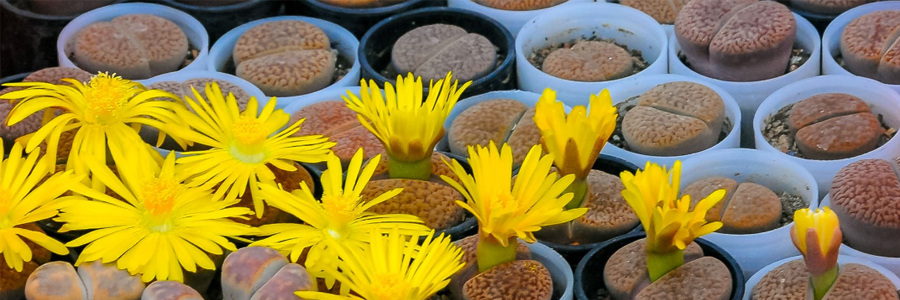
Lithops, also known as “living stones,” are fascinating succulent plants that require specific care, especially during the seeding process. Their unique appearance, resembling small stones, makes them a favorite among succulent enthusiasts. Here is a detailed guide on how to sow Lithops seeds successfully.

Before Sowing: Preparation
1.Seed Selection
Obtain high – quality Lithops seeds. Ensure they are fresh, as older seeds may have a lower germination rate. You can purchase seeds from reputable nurseries or online seed suppliers. Look for seeds that are plump and free from any signs of damage or disease.
2.Soil Mix Preparation
Lithops need a well – drained soil mix. A suitable mix can be made by combining equal parts of fine sand, perlite, and peat moss. The sand and perlite help with drainage, while the peat moss provides some moisture – retention and nutrients. You can also add a small amount of activated charcoal to the mix to help prevent fungal growth.
3.Container Selection
Choose a shallow container with drainage holes at the bottom. A seed – starting tray or small pots are ideal. The container should be clean to avoid introducing any pathogens to the seeds.
4.Watering Equipment
Prepare a gentle watering device, such as a spray bottle or a watering can with a fine rose attachment. Lithops seeds are very small, and a strong stream of water can displace them.
Sowing the Seeds
1.Filling the Container
Fill the chosen container with the prepared soil mix. Gently tap the container to settle the soil, but do not compact it too much. Leave about 1 – 2 centimeters of space at the top of the container.
2.Moistening the Soil
Using the spray bottle or the watering can with a fine rose, moisten the soil thoroughly. The soil should be evenly damp, but not waterlogged. Excess water should drain out through the holes at the bottom of the container.
3.Sowing the Seeds
Lithops seeds are tiny, so it’s best to sprinkle them evenly over the surface of the moist soil. You can use a small piece of paper folded into a funnel to help with the even distribution of the seeds. Do not bury the seeds, as they need light to germinate.
4.Covering the Seeds
Lightly cover the seeds with a very thin layer of fine sand or vermiculite. This layer should be no more than 1 – 2 millimeters thick. The covering helps to keep the seeds in place and provides a bit of protection.
After Sowing: Care and Maintenance
1.Providing the Right Environment
Place the container in a warm, bright location. Lithops seeds germinate best at temperatures between 70 – 80°F (21 – 27°C). They need bright, indirect light. Avoid direct sunlight, as it can be too intense and may dry out the soil or damage the delicate seedlings.
2.Maintaining Moisture
Keep the soil consistently moist but not wet. Check the soil daily and use the spray bottle to mist the soil surface if it starts to dry out. However, be careful not to over – water, as this can lead to fungal growth and rot.
3.Germination Time
Germination can take anywhere from a few days to a few weeks. Be patient and continue to provide the right conditions. Once the seedlings emerge, they will look like tiny, rounded bumps on the soil surface.
4.Thinning the Seedlings
As the seedlings grow, they may become overcrowded. When the seedlings are large enough to handle, usually after a few weeks, thin them out. Remove the weaker seedlings, leaving enough space for the stronger ones to grow. This helps to ensure that each plant has enough room, light, and nutrients.
5.Transplanting
When the Lithops seedlings have developed a few true leaves and are large enough to be transplanted, usually after 3 – 6 months, carefully transfer them to individual small pots. Use the same well – drained soil mix as before. Be gentle with the delicate roots during the transplanting process.